How to install Flameshot in Bodhi Linux?
Bodhi linux has default application for making screenshot and it has name .. "Screenshot" :) It's not very popular because it has awful design and it's almost not customizable. This is how it looks in standard Bodhi Linux distro:
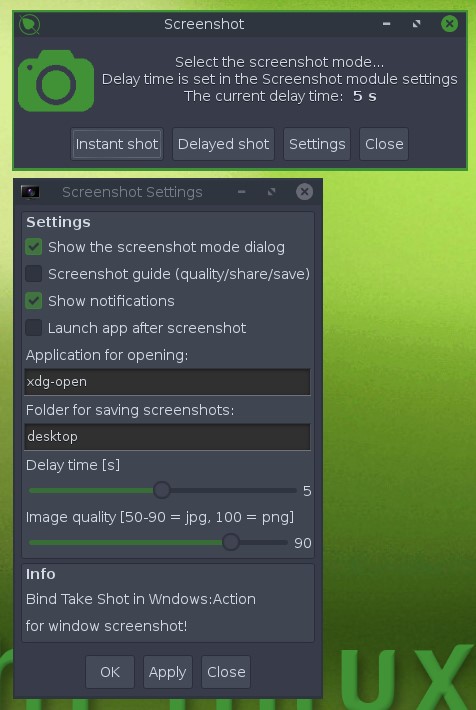
This standard tool cannot give you the freedom of making screenshots the way you want. For example, it's impossible to make a screenshot of the program "Screenshot" itself, because while making a screenshot, main window of the program disappears. Standard Screenshot program doesn't allow you to make a screenshot of a selection on your screen (in case you need to save a photo only of a particular area on the screen).
Flameshot installation in Bodhi Linux
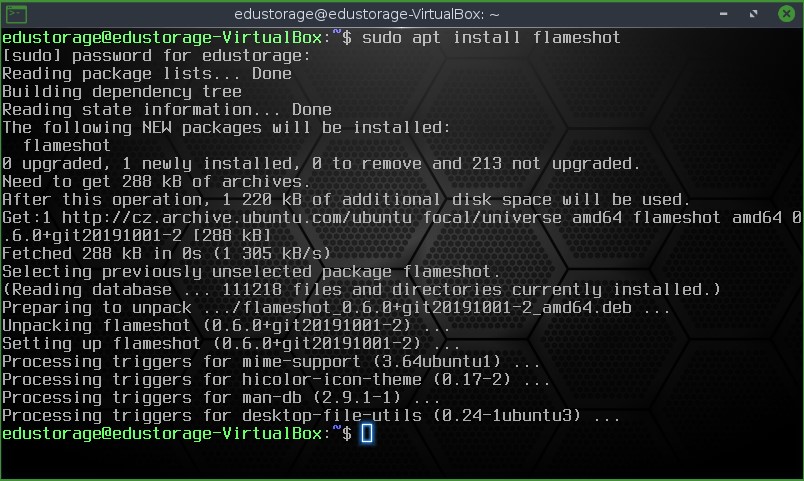
Flameshot is very powerful, easy to use and effective screenshot maker for linux operating computers. Installation of Flameshot in Bodhi linux is very fast and simple. You can just run the following command:
$ sudo apt install flameshot
Then you have to wait until the installation ends (almost immediately):
Flameshot usage
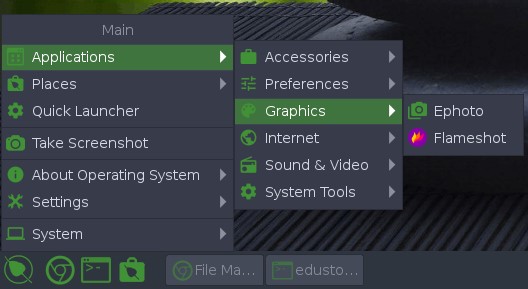
To start flameshot manually in Moksha desktop, we can use just go to Menu -> Applications -> Graphics -> Flameshot:
By default, Flameshot will appear on your scree in a tray:

Clicking on a Flameshot icon using Right mouse button, we'll see the menu:
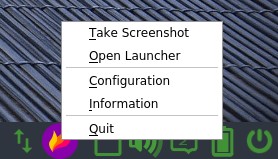
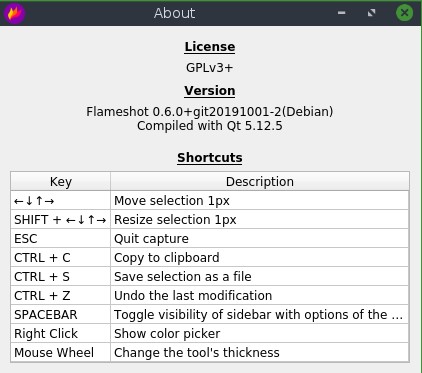
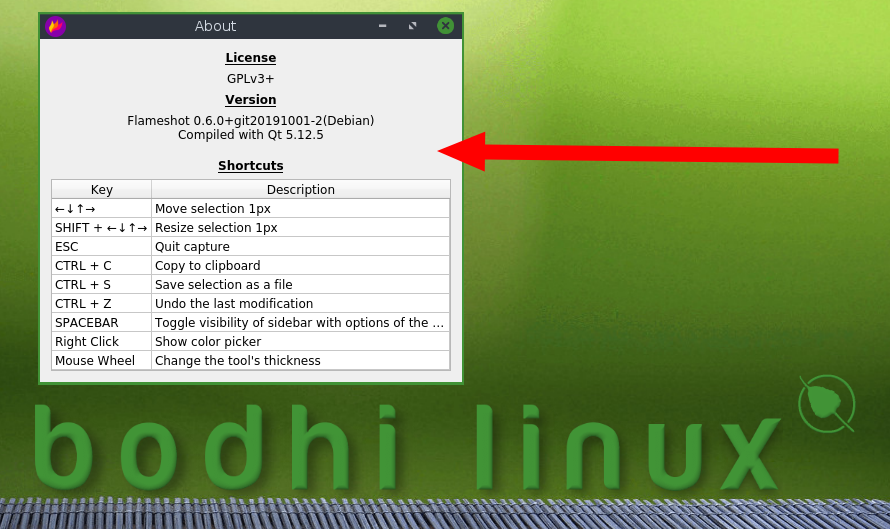
Press "Information" and you'll see shortcuts for flameshot usage:
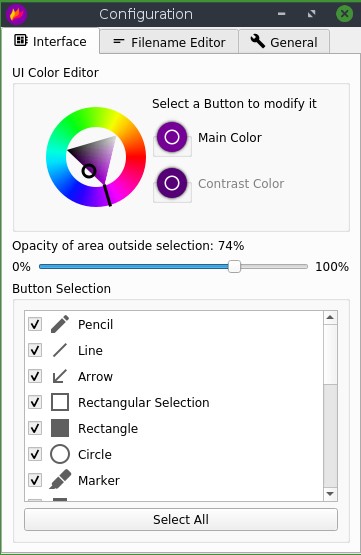
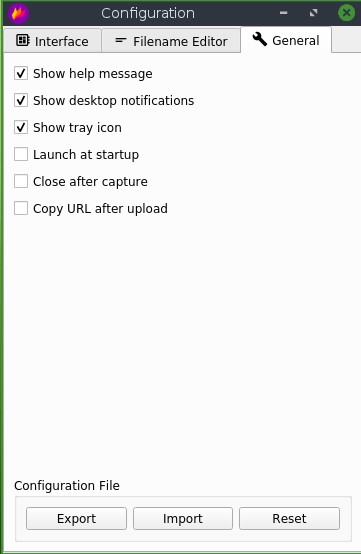
Then you can click "Settings" and check all settings you can set up and change to customize Flameshot usage for your needs:
Interface tab
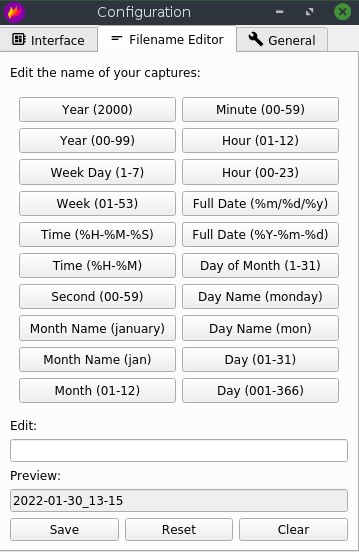
Filename editor tab
General tab
Clicking on the Flameshot icon in tray with your Left Mouse button will start a program and can directly select area of a screen you want to shoot and then you can use the variety of instruments for customizing your screenshot (round and square frame, arrows, lines etc) and then copy selected area to a clipboard or save the image:
In case you want to run Flameshot and make screenshots simply by pressing PrtSc button, read the following manual: How to run Flameshot on PrintScreen button in Bodhi Linux
