How to install and set up mitmproxy in Solus [with screenshots]
mitmproxy is a free and open source interactive HTTPS proxy.
In order to install mitmproxy, you have to install:
- pip and pipx (read: How to install pip and pipx in Solus)
- Python (at least version 3.6)
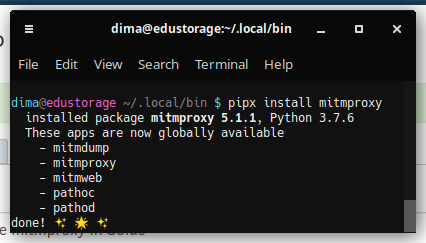
Then you can use a very simple command to install mitmproxy:
$ pipx install mitmproxy
output:
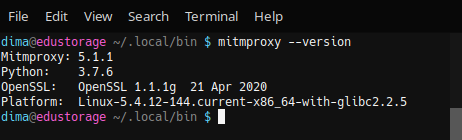
Let's check, if mitmproxy was really installed:
$ mitmproxy --version
Starting mitmproxy
Most probably, mitmproxy will be installed in ~/.local/bin . To, you can run it by executing following commands:
$ cd ~/.local/bin
$ ./mitmproxy
Or you can make an alias to run mitmproxy fron any location in your system. Add following line:
alias mitmproxy='~/.local/bin/mitmproxy'
to a file ~/.bashrc
(don't forget to update barshrc by running this command)
$ source ~/.bashrc
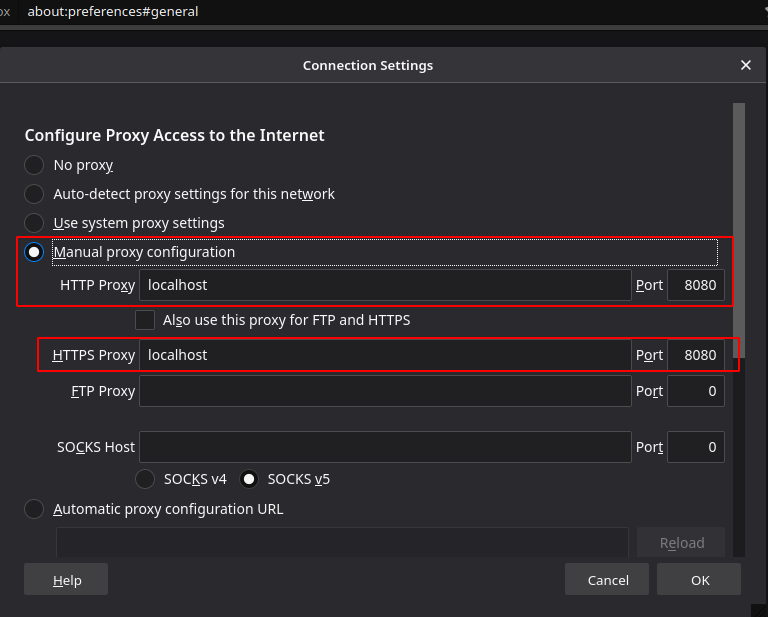
Setting up proxy in browser
Now we have to "tell" our browser to acces an internet through our mitmproxy:
To start mitmproxy server, run following command:
$ mitmproxy
Certificates
First time when you try to open a webpage, browser (in my case - Mozilla Firefox) will stop you with a certificate trus error:
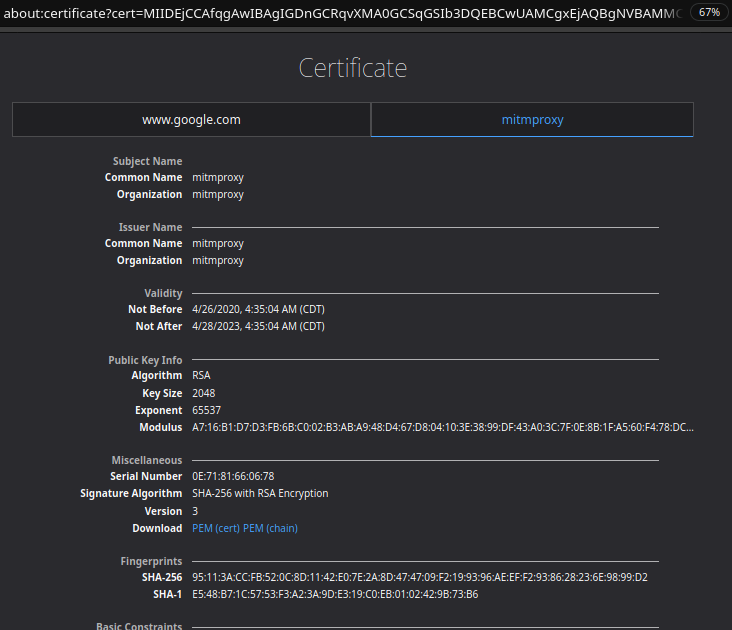
All you have to do is to download certificate (PEM-chain will be enough), and then add them into certificates in your browser:
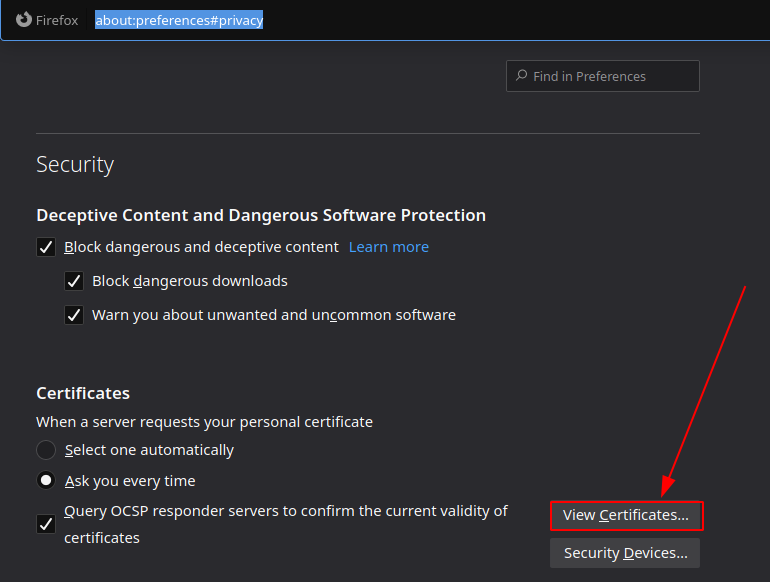
Then import PEM-chain certificate you've downloaded:

Running mitmproxy, mitmdump and mitmweb
The only thing you should now, that you can run only one tool at once. So, in case you want turn on mitmweb, you should switch off mitmproxy, for example.